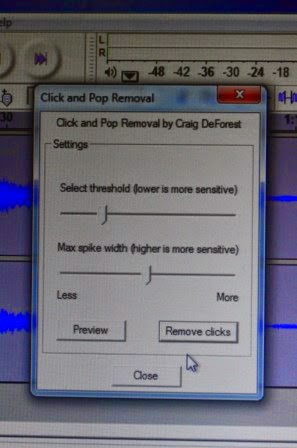
 Scratches in the quiet parts of the LP
grooves are often difficult to eliminate, because they stand out so in contrast
with their immediate neighbourhood. You may like to deal with the worst of them
manually, if they still remain after a few passes with the automatic click
removal routine (see previous post). Such large clicks or thumps are more
frequent in the initial parts of the recording, from the outer portions of the
vinyl platter.
 Audacity provides ways of dealing with such
persistent and awkward defects. The most laborious way is to zoom in on the
portion with the magnify tool (the magnifying glass + icon, or you could select a small portion and maximize it with the right-most
magnifier tool) until you are able to see the individual data elements as
discrete (separate) dots on the wave-form, as we can see in this sequence of
screen shots.
 Having zoomed in till you can see the
individual dots (the sampled points), you then choose the ‘pencil’ icon from
the top-left panel. With this tool, you can click and drag it
across the screen to draw a new wave shape, to smooth out the sudden spike.
Initially, to get the feel of it, you can click on (or just above or below)
each dot separately to reposition it.
  As you get comfortable with this
procedure, you can graduate to a free-flow redrawing of the wave envelope. You
needn’t despair if some of the time you go outside the line you’ve set for the
new wave, since you can always correct it as many times as you want. I like to
give a slight up-and-down shape to the sequence of dots, so that it doesn’t
result in a sudden silent patch (a hiatus) in the sound stream. The maxima
(peaks and troughs) have just to be within the broad limits of the neighbourhood
to mask the spike (since there won’t be any musical sound there). The result
looks like the following.
 If you compress the wave display back, it
looks like the normal up-and-down wave form without the peak that touched close
to the top or bottom of the channel display (db or decibel level +1.0 or -1.0
in the display).
If the thump is very broad and extreme, it
may not be not be easy to do this as it occupies a wide patch. You could even
just select the offending portion (a fraction of second in practice) if it would not compromise
the recording completely. Another option is to use the Effect-Compress operation,
on a selected portion containing the broad thump. You should experiment with different
settings in this, and you can Preview the effect before making it final.
Just remember to Save the edited recording
frequently (use Save As and give new names, tagging on something like –ed or
–new to differentiate the corrected bits)! This is one reason I like to slice
the raw recoding into small chunks (I like to use 2-minute bits) – in case you
goof, it won’t be that difficult to retrieve thee situation. And keep the raw
recordings (the entire recording as well as the unedited segments) until you
have done the cleaning up on all the segments and put them all together to your
satisfaction: you never know what mistakes will have crept in (like missing out
a segment, wrong sequencing, and so on).
I'll describe Groove Mechanic next post!


